
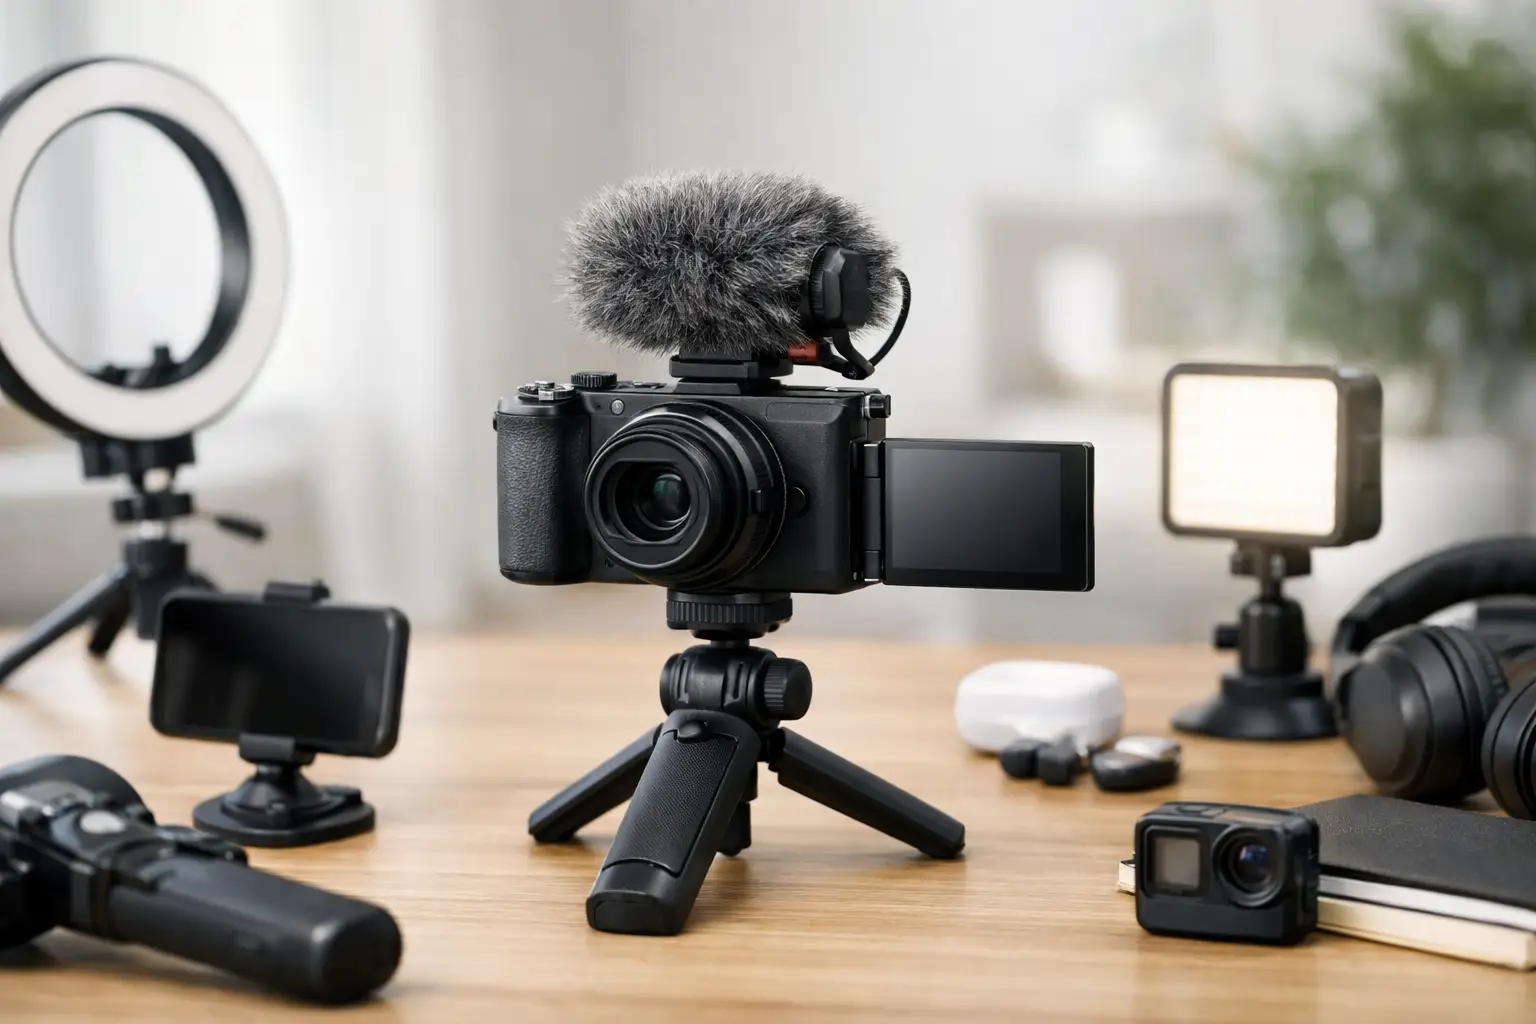
The best vlog camera setup for beginners is not the one with the biggest lens, the most buttons or the highest price tag. It is the one you will actually take to the food spot, pack for a weekend away, pull out at a local event, and use without turning a normal day into a film set. Clear enough video, audio people can hear, and a simple way to keep the camera steady will take you further than a cupboard full of unused gear.
Real vlogs work because the person behind the camera is present. A slightly imperfect shot from a busy market can feel more useful than a polished clip that tells viewers nothing. Start with the basics, learn what gets in your way when filming, then spend money where it fixes a genuine problem.
Start with the camera you already own
For most beginners, that camera is a smartphone. Modern phones can record sharp video, handle bright outdoor scenes well, and fit in your pocket when you are filming casually. They are especially good for food videos, day trips, quick product impressions and talking-to-camera clips where you do not want to draw attention to yourself.
Use the rear camera when possible, as it is usually better than the selfie camera. Set it to 4K at 25 frames per second if your phone and storage can handle it, or use 1080p at 25 frames per second for smaller files and easier editing. Do not get stuck chasing settings, though. A stable, well-lit 1080p clip is far better than shaky 4K footage with poor sound.
A dedicated camera becomes worth considering when you want better low-light video, a wider choice of lenses, stronger stabilisation, or the ability to use a proper microphone more easily. Compact vlogging cameras and small mirrorless cameras are both sensible choices. The right one depends on how you film.
If you walk around town, visit restaurants or document days out, a compact camera with good stabilisation is often less hassle. If you plan to review products at home, film sit-down pieces or create more controlled travel footage, a small mirrorless camera gives you more room to grow. The trade-off is size, cost and a little more learning.
Build a vlog camera setup for beginners around sound
Viewers will forgive a clip that is a touch soft or slightly shaky. They are much less patient with wind noise, echo, traffic drowning out your voice, or a review where they cannot hear the key details. This is where a basic external microphone earns its place.
For talking directly to camera outdoors, a small wireless microphone is usually the easiest option. Clip it to your top, keep the receiver connected to your phone or camera, and check the audio before you start. It keeps your voice closer and clearer when you are walking through a busy high street, standing beside a road or showing a product outside.
For a camera mounted on a tripod or held at arm’s length, a compact directional microphone can work well. Point it towards yourself and use a wind cover outdoors. It will not make a noisy location silent, but it can reduce the harsh background sound that makes footage tiring to watch.
If you have no external microphone yet, get closer to the phone or camera. Film away from speakers, extraction fans and busy roads where you can. At a café or food market, record a short piece to camera in a quieter corner, then capture the atmosphere separately as B-roll. That is not faking the experience. It is making sure people can hear what you thought of it.
Before every shoot, record ten seconds and play it back through headphones. This small habit catches dead batteries, loose cables and microphones that are not actually connected. It has saved more videos than fancy kit ever will.
Keep your shots steady, not stiff
Shaky footage is common when you are new, particularly when filming one-handed while trying to talk, point at something and stay out of other people’s way. You do not need a large stabiliser straight away. Start with a small grip or mini tripod that suits your phone or camera.
A grip makes handheld filming more comfortable and gives you somewhere to place the camera for a quick piece to camera. A mini tripod is useful on a table during a product review, on a wall during a walk, or in your accommodation when you want a simple talking shot. Look for something solid enough that a gust of wind will not knock it over.
A gimbal can create very smooth walking shots, but it adds setup time and can make filming feel like a job. It is useful if moving shots are central to your videos, such as walking tours or travel content. For most everyday vlogs, practising a slower walk, holding the camera with two hands and keeping your elbows close to your body does a perfectly decent job.
When filming handheld, avoid swinging the camera from one thing to another. Pause on a scene for a few seconds. Get a wide shot of the place, a closer shot of the details, then one clip with you in it. Those simple choices make editing easier and give viewers a better feel for where you really were.
Light is free, until it is not
Good light makes budget cameras look better. When filming indoors, face a window rather than putting it behind you. Window light is soft, flattering and usually enough for a straight-to-camera clip during the day. If you are reviewing a product on a table, turn it slightly towards the window so people can see its shape, buttons and finish.
At night, phone and compact camera footage can quickly become grainy. A small LED light is a practical next purchase if you often film in the evening, inside restaurants, at events or in dim rooms. Choose one with adjustable brightness and a soft diffuser if possible. Bright light placed too close can look harsh, so position it slightly to one side rather than straight in front of your face.
Be realistic about locations. A brilliant local food spot may have dark corners, loud music and colourful lighting. Show the place as it is, but do not expect every shot to look like a studio production. A few well-lit close-ups of the food, followed by an honest chat outside, can tell the story better.
The small extras that prevent big problems
Once you have a camera, microphone and something to hold them steady, a few boring items make a real difference. They are not exciting purchases, but they stop a good day out becoming lost footage.
- A spare battery or power bank keeps a phone or camera going on longer shoots.
- A fast, reliable memory card prevents recording errors on dedicated cameras.
- A lens cloth clears fingerprints, rain spots and grease before they ruin a clip.
- A small case or pouch keeps cables, batteries and microphones together.
Also think about storage before you start filming lots of 4K video. Back up clips after each outing to a computer or external drive, then clear your card or phone when you know the files are safe. Leaving everything until your storage is full is how the next useful moment gets missed.
Choose gear for the videos you actually want to make
It is easy to buy based on another creator’s setup, then realise their work looks nothing like yours. Someone filming cinematic countryside walks has different needs from someone reviewing an electric scooter after a week of commuting, or trying three dishes at a family-run restaurant.
For local food and everyday life, keep the setup light enough to use in public without fuss. A phone, small mic and grip may be all you need. For travel, prioritise battery life, stabilisation and a bag that does not weigh you down all day. For real-use reviews, put more thought into audio, close-up shots and a tripod, because viewers need to see and hear the details that marketing pages skip.
Buying second-hand can be a sensible move, especially for a camera body, tripod or light. Check that ports work, the screen is sound, the lens is clean and batteries still hold charge. A used camera in good condition can be better value than a cheap new model that struggles in ordinary light.
Make filming a habit before upgrading
The most useful setup is one you can set up in under two minutes. Keep your microphone charged, leave your grip in your everyday bag, and save a simple camera preset so you are not changing menus while something interesting is happening.
At Vlog Life 247, the point is never to pretend every place or product is perfect. Film the queue as well as the good food, the awkward bit of the journey as well as the view, and the limitation as well as the feature. Your gear should help you catch those real moments, not stand between you and them.
Start simple, shoot regularly, and watch your own footage with an honest eye. The next upgrade will become obvious soon enough – and it will be based on what your vlogs genuinely need, not what somebody else told you to buy.
Leave a Reply